Your store is all set except for the Magento shipping. Shipping options are a crucial part of the eCommerce business. Customers expect to see multiple shipping options from trusted shipping companies. Luckily, Magento 2 allows you to set different shipping methods quite quickly and easily. No matter what kind of shipping you need, with Magento 2, it’s not a problem.
While setting the shipping method in Magento 2 isn’t hard, it still has its pitfalls. In this article, we’ll walk you through the configuration of custom Magento 2 shipping method as well as the configuration of shipping carriers. Without further ado, let’s get started!
How to configure shipping settings?
Payment and shipping methods are two factors that every customer considers before anything else. If you don’t offer payment and shipping options that match their expectations, your potential customers will go to the competition with a better pool of choices.
If you need help with figuring out how to integrate payment methods into your Magento store, check out the article:
A reliable payment processing service is just as crucial to the success of an online store as any other factor
Meanwhile, we are moving to the configuration of shipping method Magento 2.
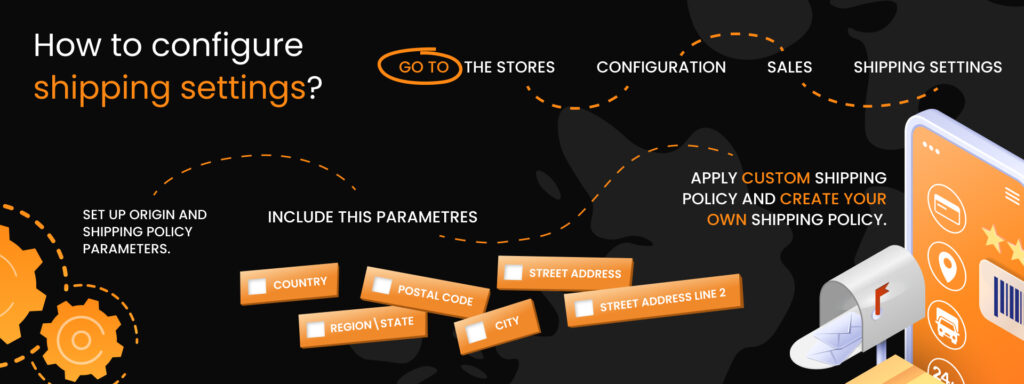
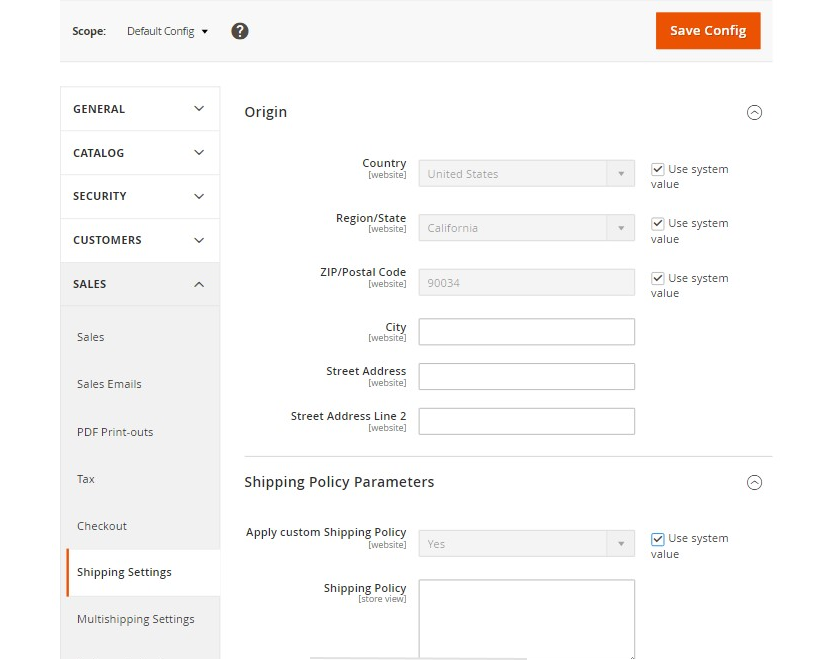
The first thing that you need to do after getting your B2B or B2C eCommerce development services is to configure shipping settings. In order to do that, go to the Stores – Configuration – Sales – Shipping Settings. Once you get there, you need to set up Origin and Shipping Policy Parameters. If you sell worldwide, this is a crucial step because it allows Magento 2 to calculate the taxes and shipping costs based on the location.
You must include such information as Country, Region\State, Postal Code, City, Street Address, and Street Address Line 2.
Additionally, you can Apply Custom Shipping Policy and create your own Shipping Policy, defining all the rules and regulations.
How to set the shipping method in Magento 2?
Once you deal with shipping settings, it’s time to move on to the Magento shipping method. 72% of US customers say that they are willing to pay up to 5 dollars per order for shipping. Make a thorough research of your audience and their preferences about shipping costs before settling for one method.
You need to press Stores – Configuration – Sales – Shipping methods. You will see three default Magento shipping methods and four options for shipping carriers. Before we start with Magento’s default shipping methods, make sure you’ve picked the best B2C or B2B eCommerce development services.
Flat Rate Shipping Method
Flat Rate is the standard Magento 2 shipping method that the users can choose, no matter the size and weight of the items.
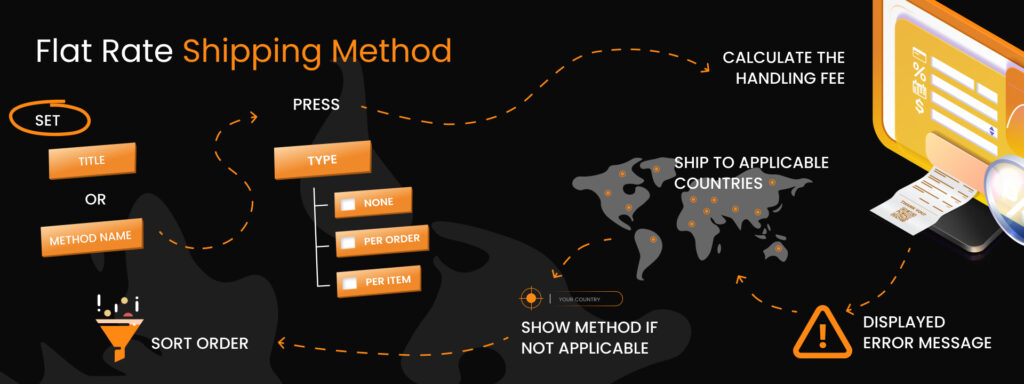
All of the shipping methods have some similar features, such as Title or Method Name. However, each of them has some distinctive issues that you need to pay attention to. So, let’s talk about the distinctive features of the flat rate shipping method.
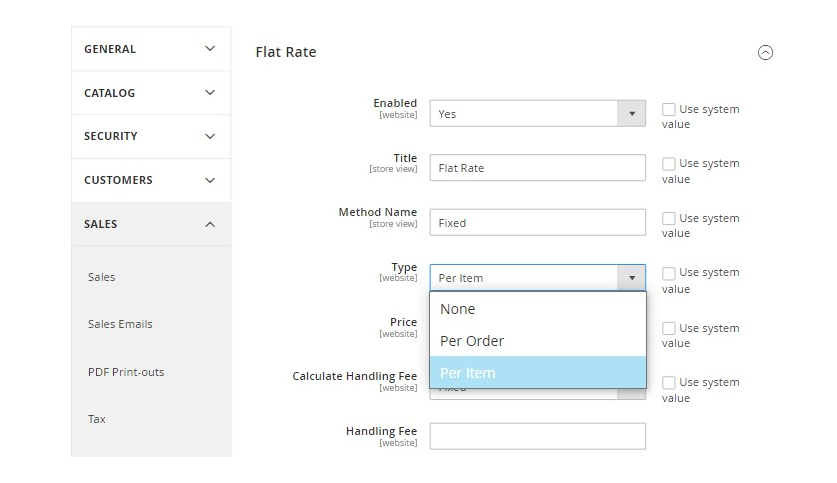
You have the Type section that allows you to choose how the shipping fee is going to be added to the subtotal. When you press on the Type, you can see three options:
- None. It means that there’s no change in the order’s price and this option equivalent to the Free Shipping
- Per Order. In this case, the shipping fee is created for the whole order, not for each product separately.
- Per Item. This option means that the shipping fee is created for each item separately, and the fee adds up for each new product in the cart.
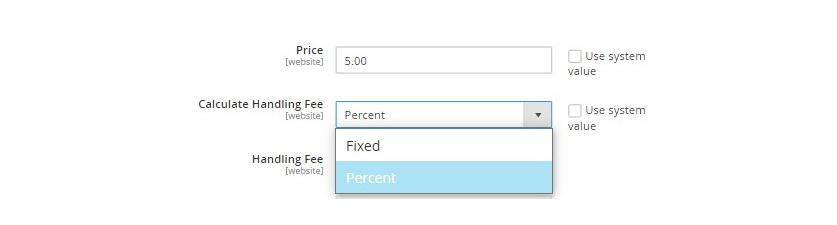
The next section is the Price section. Here you can set the price you want to charge for the Flat Rate shipping.
The next step is to determine the method to Calculate the Handling Fee. Once you’ve done that, you need to set the amount of the handling fee according to the method you set for handling fee calculations.
The next step includes creating the text for the Displayed Error Message. This is the message your customers will see if the Flat Rate is not possible.
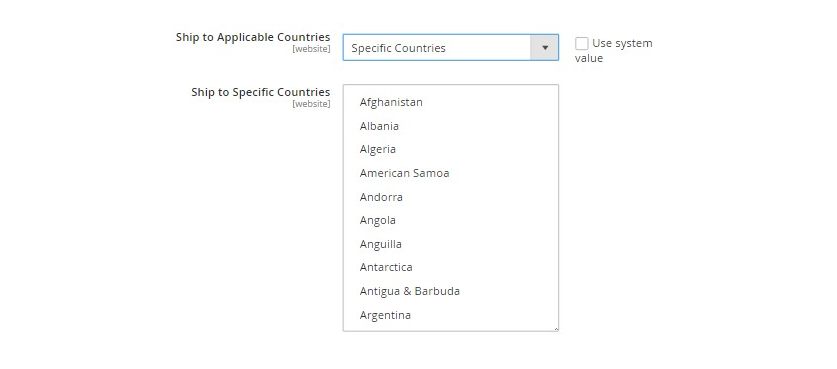
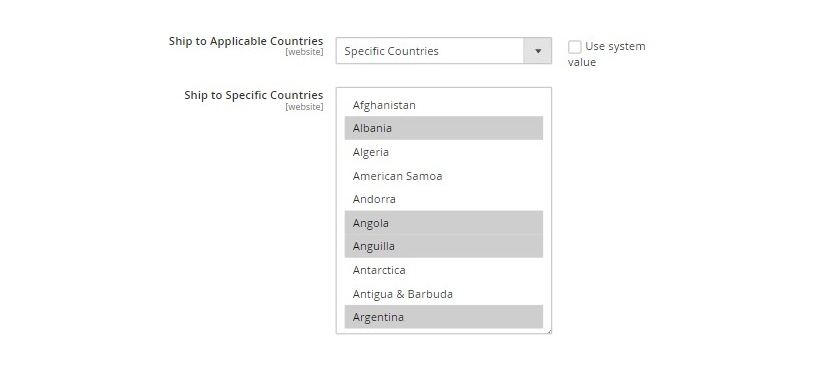
In the Ship to Applicable Countries, you can set whether the free shipping is available for every country or only specific countries.
Show Method if Not Applicable allows you to show the method during the checkout process, even if Flat Rate wasn’t applicable to the order before.
Sort Order allows you to choose the order to display different shipping methods.
Free Shipping Method

Now let’s move on to probably the most popular shipping method among customers. It’s free shipping. 63% of customers say that they mostly order products from those shops that offer free shipping.
For business owners, it’s a valid opportunity to attract more customers and expand their client pool. Basically, the customer gets free shipping if the requirements of the minimum order amount and cart price rules are met. Now, let’s talk about how to set up free shipping:
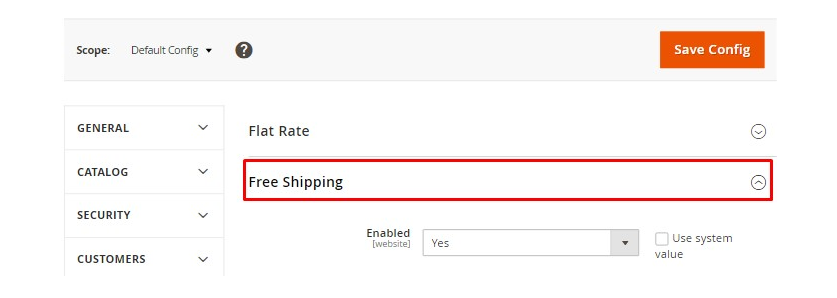
1. Go to the Admin panel, Stores – Settings – Configuration
2. Choose Shipping Methods, then enable Free Shipping
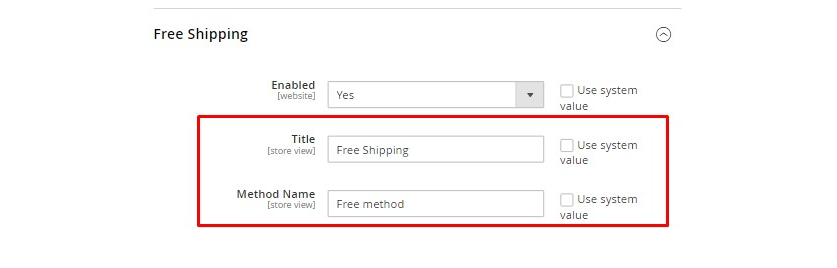
3. Set the Title for this shipping method
4. Add the description in the Method name field
5. Set the Minimum Order amount to enable free shipping

6. Type the Displayed Error Message that will appear when the users will try to enable free shipping for the orders that don’t fall under free shipping conditions

7. In the Ship to Applicable Countries, you can set whether the free shipping is available for every country or only specific countries
8. Show Method if Not Applicable allows you to show the method during the checkout process, even if Free Shipping wasn’t applicable to the order before.
9. Sort Order allows you to choose the order to display different shipping methods

10. Once you are done with all the settings, press Save Config.
Also, don’t forget that when you create a free shipping method, you also need to create cart price rules to determine the conditions under which the free shipping is applicable.
Need to configure shipping methods into your Magento store?
Our team worked with dozens of Magento online stores and know exactly which shipping methods will work better for you.
Table Rate Shipping Method
The Tables Rates shipping method means that the fee is calculated based on different conditions. For example, Weight vs. Destination, Number of Products vs. Destination, etc. This means that the shipping fee will depend on the client’s location and the number of products they want to order. Or shipping will be determined the client’s location and the order’s weight.
The Table Rate shipping method is quite similar to the Flat Rate method, but there are also some distinctive features.
1. Choose the Condition rates that will affect the final fee.
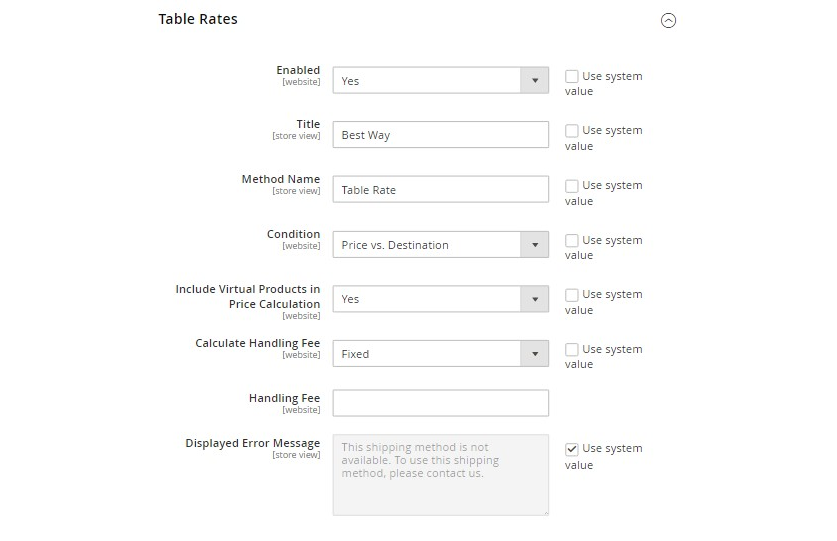
2. Set Include Virtual Products in Price Calculation (since virtual products don’t have weight, they won’t affect Weight vs. Destination condition)

Those are the basic configurations of the Table Rate shipping method. Once you are done with them, it’s time to prepare or update your table rate files. Once you have done this, do the following:
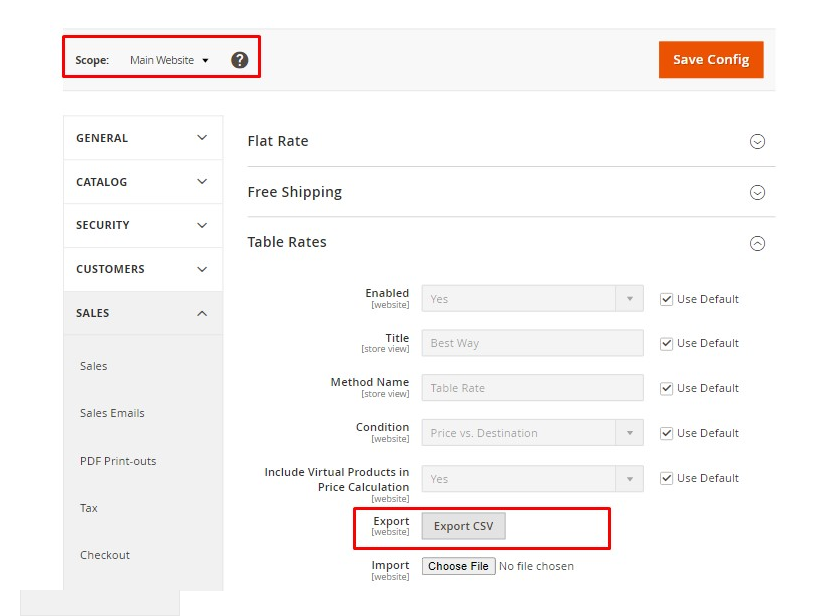
3. Go to Stores – Configuration. Choose the store view or the website you want to apply this shipping method to. You’ll see that two new options will appear.
4. Export the CSV file, make the necessary changes, and then import it.
Now you are all set. Go to your store and pick several products, choosing various destinations to see how the shipping fee changes.
How to configure shipping carriers?
Those three methods are the default shipping methods of Magento 2. But that’s not all. Now let’s take a look at shipping carriers: FedEx, UPS, USPS, and DHL. These four are among the most common choices when it comes to shipping carriers. They have wide delivery networks and are popular among customers. If you want to expand your delivery network, consider those choices. Meanwhile, we’ll walk you through their configuration.
FedEx
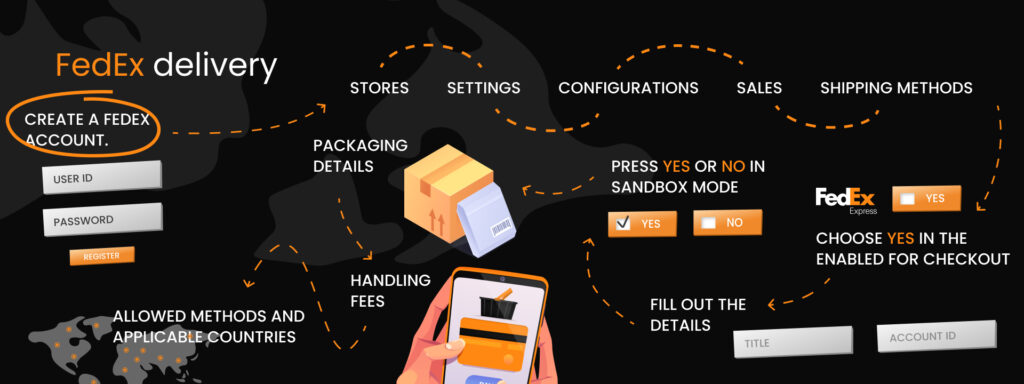
FedEx is one of the most popular carrier service providers that have multiple types of services and ships products to clients regardless of distance. If you enable FedEx, it helps attract new audiences and expand the delivery network. Let’s figure out how to configure it:
1. Create a FedEx account. You need to create an account and register in order to use FedEx. Go to the product information page and click on the Obtain Production Key link. You’ll need it to configure the account in the Magento settings.
2. Go to Stores – Settings – Configurations – Sales – Shipping methods.
3. Open the FedEx icon and choose Yes in the Enabled for checkout field.
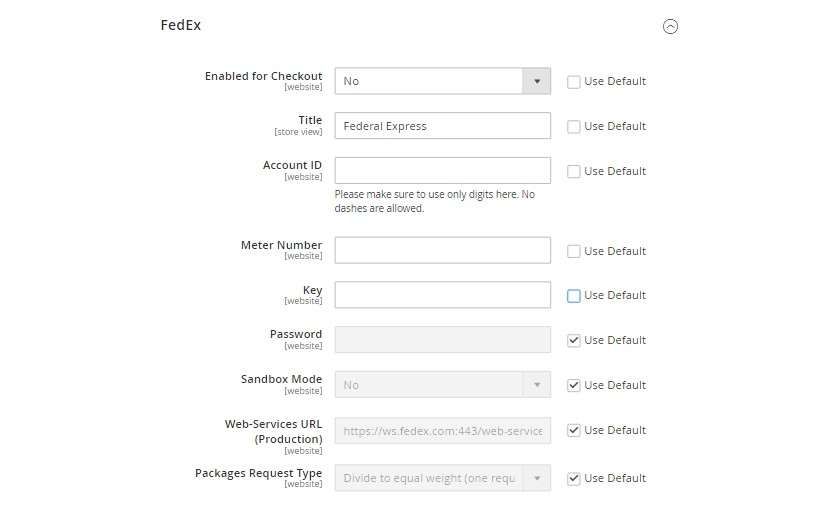
4. Fill out the details, such as Title, Account ID, etc.
5. Go to Sandbox Mode and press Yes if you want to run the FedEx Sandbox in a test environment and No if you want to run USPS in the live production environment.
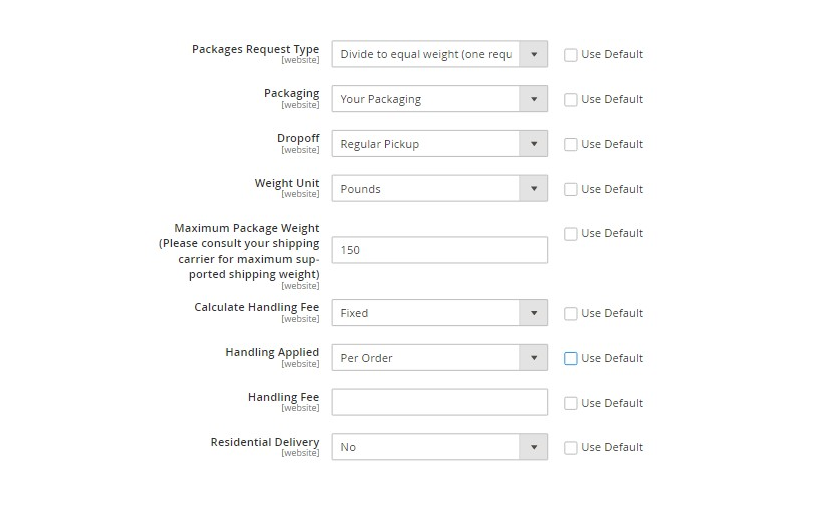
6. Set the Packaging details
7. Set the Handling Fees

8. Set Allowed Methods and Applicable Countries
UPS
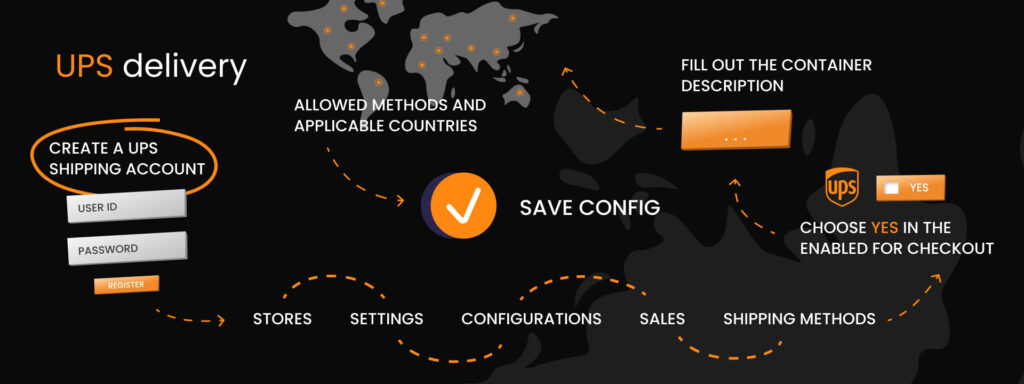
UPS delivers goods by air and ground to more than 220 countries. If your business offers UPS shipping, customers will trust you more because UPS is a well-known system with a tested operating system. Let’s configure it together:
1. Create a UPS shipping account.
2. Go to Stores – Settings – Configurations – Sales – Shipping methods.
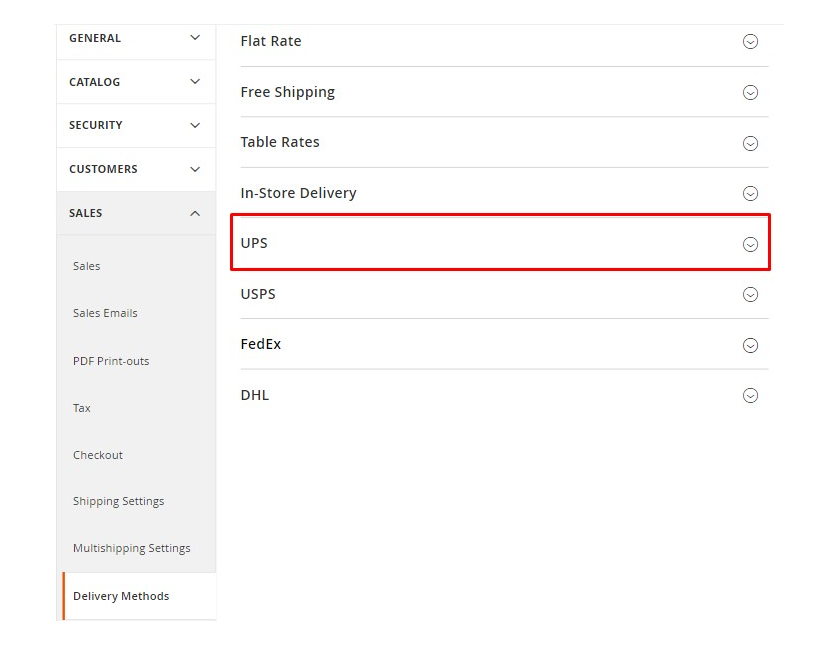
3. Open the UPS icon and choose Yes in the Enabled for checkout field.
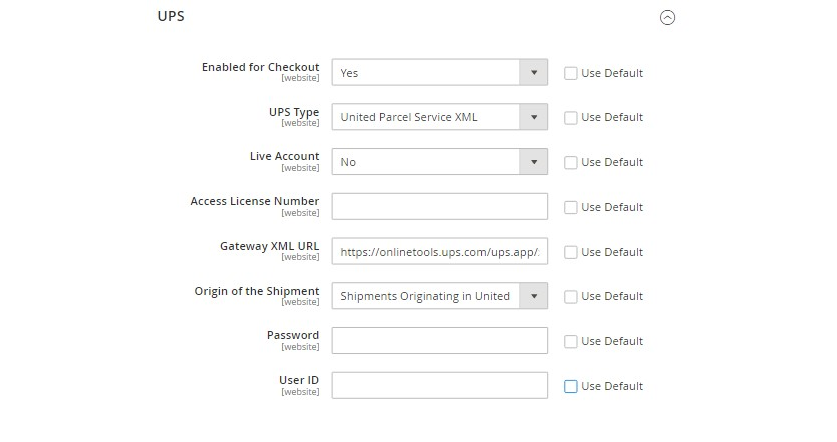
4. Fill out the Container description
5. Set Allowed Methods and Applicable Countries
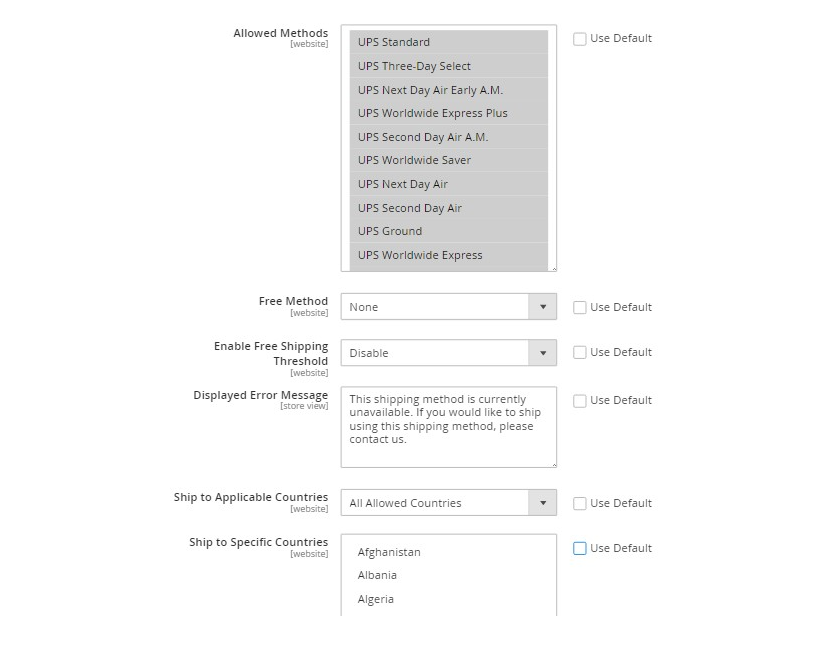
Now all that’s left to do is to save the configuration by pressing Save Config.
USPS
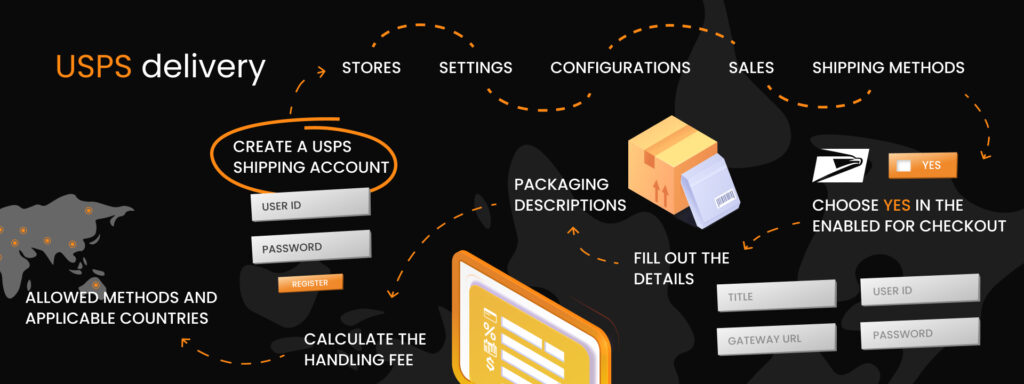
United States Postal Service Carrier, or USPS for short, is a shipping carrier of the government of the United States. It offers domestic and international shipping services and is a trusted choice of shipping service providers for many clients. Let’s configure it together:
1. Create a USPS shipping account. After you’ve created your account, you will get a User ID and a link to the USPS test server.
2. Open your Magento 2 and go to Stores – Settings – Configurations – Sales – Shipping methods.
3. Open the USPS icon and choose Yes in the Enabled for checkout field.
4. Fill out the details, such as Title, Gateway URL, User ID, Password, etc.
5. Set up the packaging descriptions
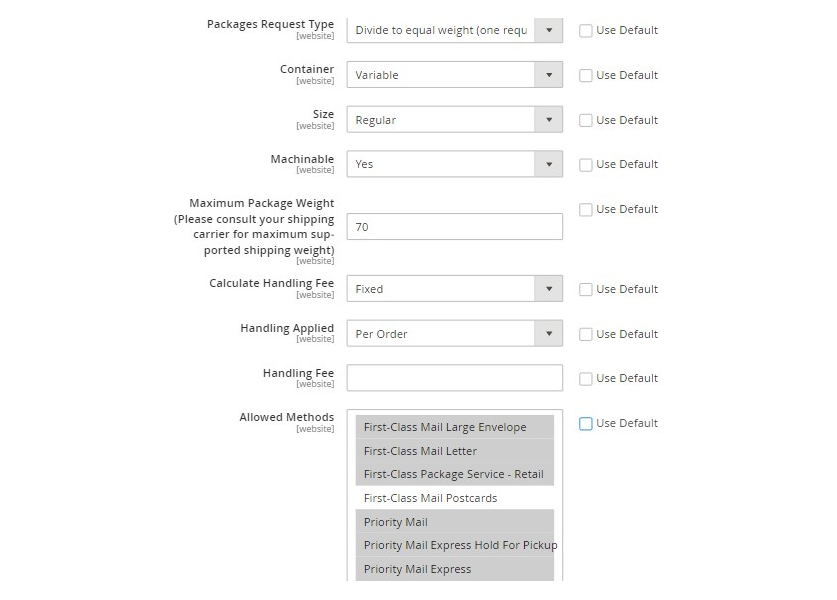
As for the rest of the configuration, it is pretty similar to the previous methods. For instance, you need to configure the Handling Fees. In order to do that, press Calculate Handling Fees and choose between Fixed or Percent. Meanwhile, the Handling Applied section allows you to define the way of calculating the handling fees. Finally, the third section, Handling Fee, allows you to set the amount of the handling fee.
You also need to configure possible delivery locations. In order to do that, choose USPS from the Allowed Methods list. Also, enter the message that will appear if the USPS shipping is unavailable in the Displayed Error Message box.
DHL
Last but not least, is DHL. When you integrate DHL into your shipping methods, your customers get an opportunity to ask to ship basically anything, from goods and products to documents and letters. Configuring DHL doesn’t drastically differ from previous methods, but we will walk you through it anyway. Let’s get started.
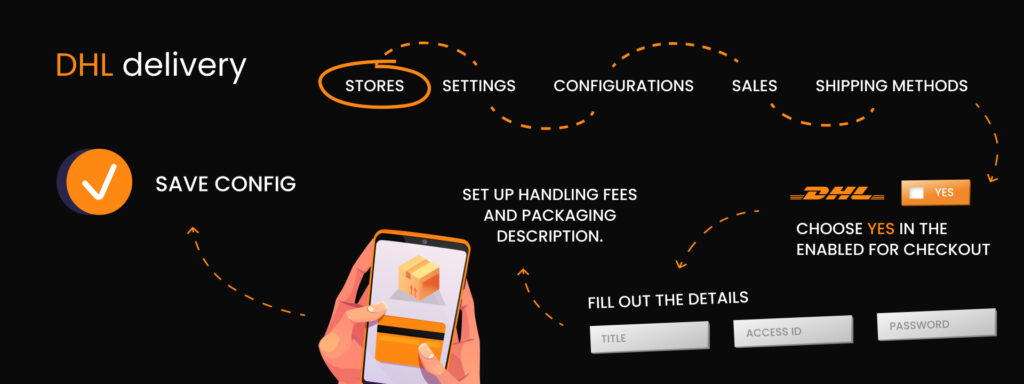
1. Open your Magento store and go to Stores – Settings – Configurations – Sales – Shipping methods.
2. Open the DHL icon and choose Yes in the Enabled for checkout field.
3. Fill out the details, such as Title, Access ID, Password, etc.
4. Set up Handling Fees and Packaging description.

Now, you need only to press Save Config to finish the configuration process.
Final thoughts
Now you are ready to set your store’s preferred shipping method. Whatever method you choose, don’t rush the process of its configuration. Carefully go through each step and make sure to test the shipping method afterward. Better still, include several shipping methods. Costumes like to have a choice when it comes to payment and shipping options, so why not provide them with such options? You can choose between three default Magento shipping methods as well as from popular shipping carriers.
If you are feeling a little overwhelmed with all this information, don’t worry, IT Delight has got you covered! We offer Magento plugin development of shipping functionality for eCommerce stores. Additionally, you can get eCommerce implementation services from us.
Contact us today and get a custom solution tailored to your business needs tomorrow. Our team will get back to you shortly.